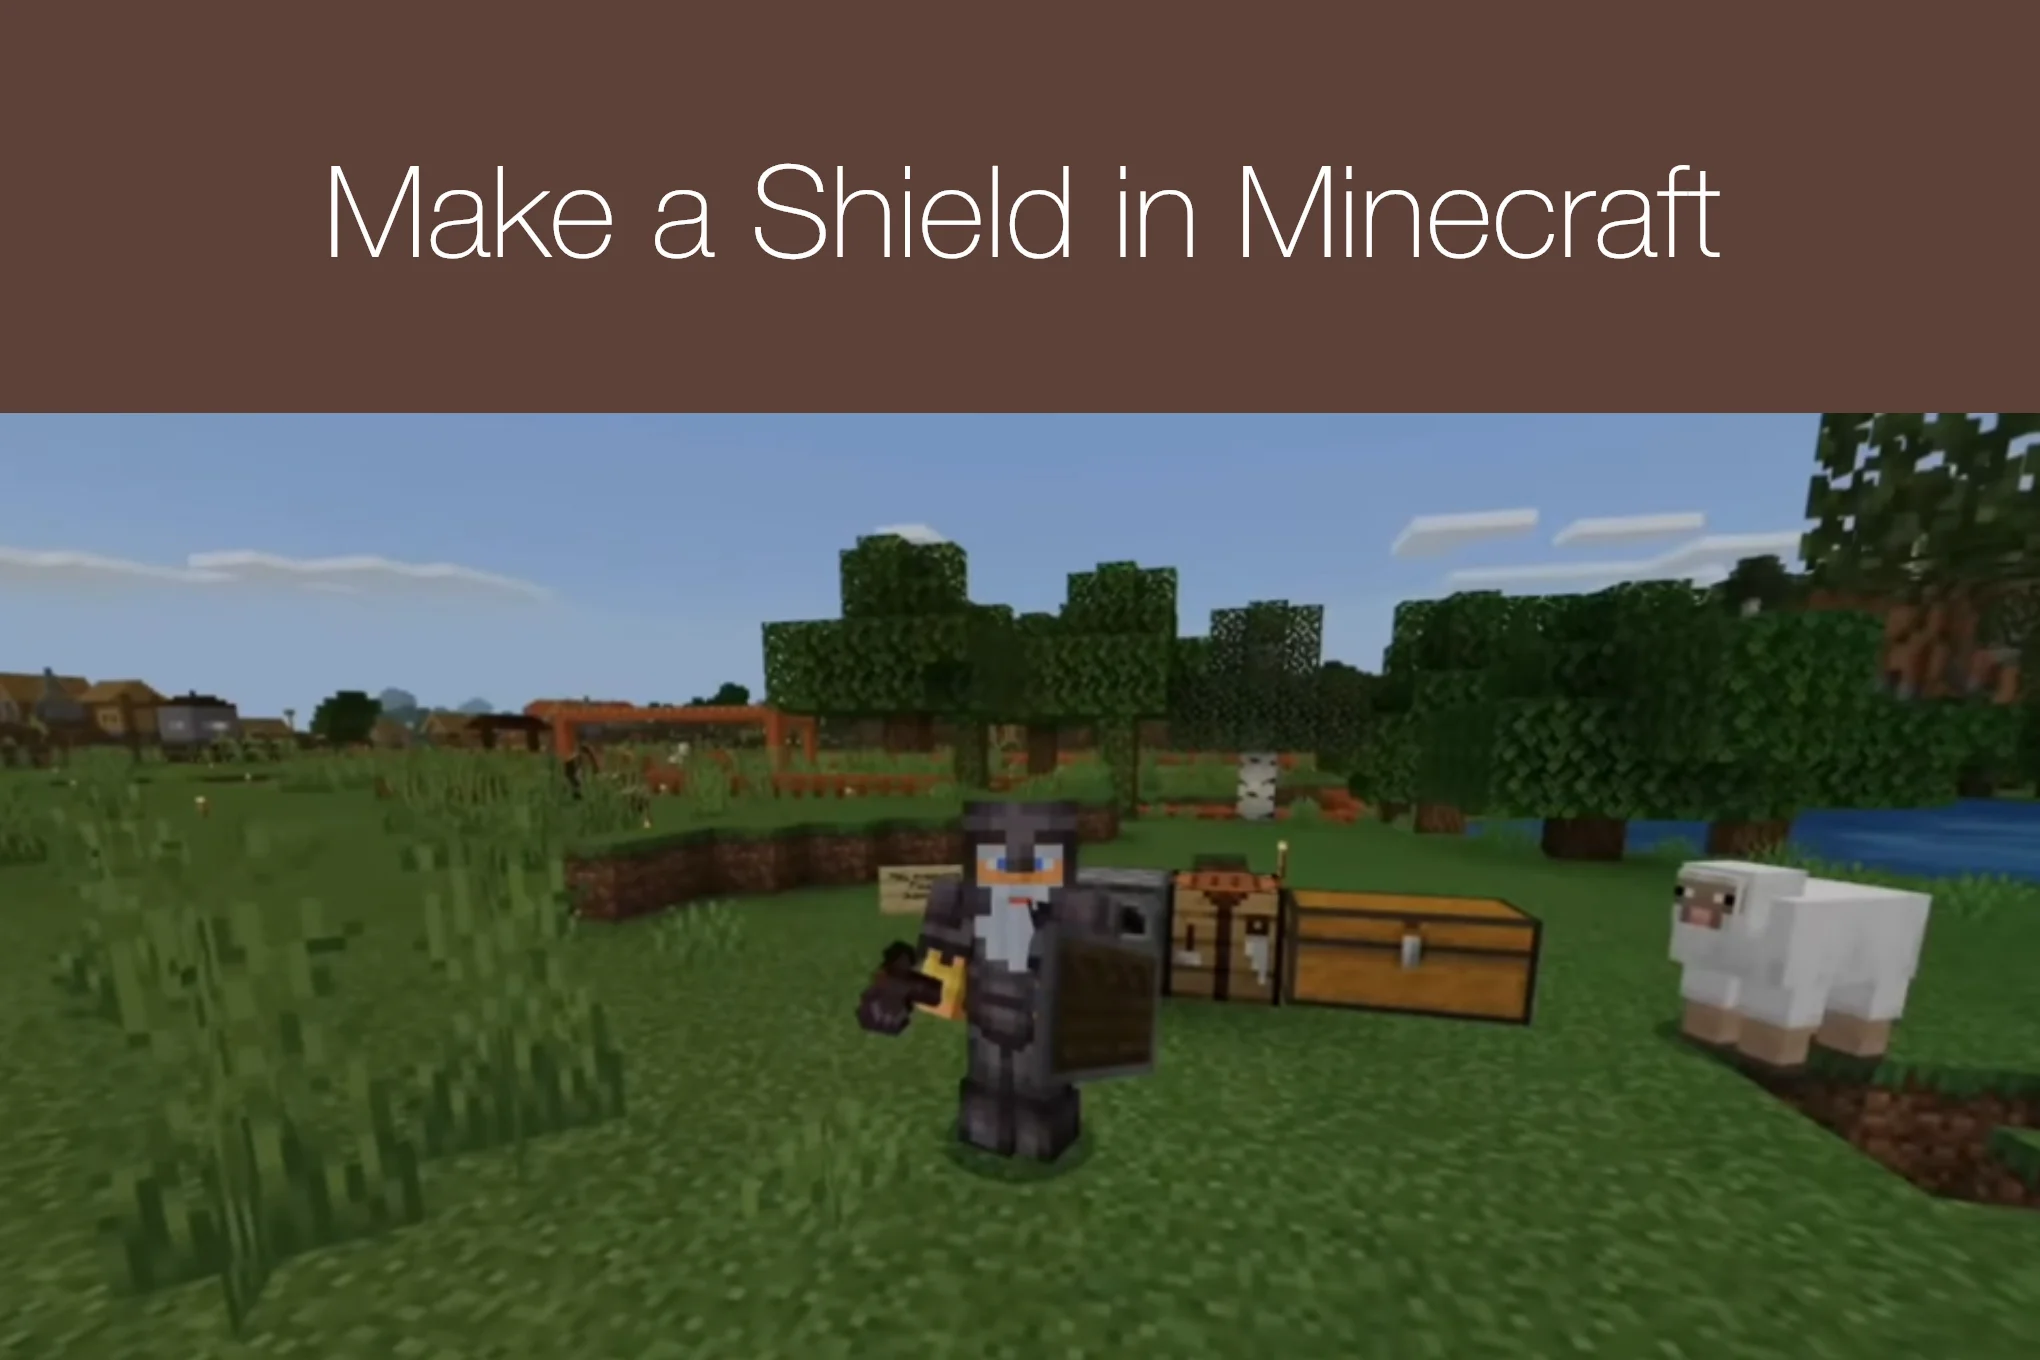
A shield in Minecraft is a defensive item that help players in surviving difficult battles against mobs. Using shield at the right time can protect from arrows and other incoming attacks. Make your own shield in Minecraft and use it for your defense against anything.

Learn Making a Shield in Minecraft PE
A Shield is one of the most useful defensive items in Minecraft free game. It can protect you from dangerous attacks while you explore caves, fight hostile mobs, or travel through dark areas at night. A Shield is especially helpful when you are facing skeletons because it can block their arrows and give you time to attack safely. Learning How to make a Shield in Minecraft is simple because the recipe uses common materials that you can collect early in a survival world.
You do not need rare resources or complicated tools to craft a Shield. With some Wood Planks, an Iron Ingot, and a Crafting Table, you can make one in a short time. After crafting it, you can place the Shield in your off-hand and use it whenever you need extra protection. This makes it a great item for both new and experienced players. Also checkout How to Make a Compass in Minecraft.
What You Need to Make a Shield in Minecraft
Before you start crafting, gather six Wood Planks and one Iron Ingot. The Wood Planks can come from any suitable wood type, so you can use the logs you find near your base. You will also need an Iron Ingot, which you can obtain by smelting Iron Ore in a furnace. Finally, you need a Crafting Table because the Shield recipe uses the full 3×3 crafting grid.
Once all the materials are ready, the crafting process is straightforward. Place the Iron Ingot and Wood Planks in the correct pattern, and the Shield will appear in the result box. You can then move it to your inventory and equip it for protection. The following steps explain how to craft and use a Shield in Minecraft.
Step 1: Collect Wood
Start by collecting some wood from nearby trees. You can use an axe to gather logs faster, although your hand can also be used if you do not have tools yet.

Break a few tree blocks and collect the logs that drop. You do not need a specific tree for the basic Shield recipe. Different types of wood can be turned into Wood Planks and used for crafting. Try to collect enough logs for your Shield and other early survival items.
Step 2: Turn the Logs Into Wood Planks
Open your inventory crafting area and place the wooden logs you collected into the crafting grid. Each log can be turned into Wood Planks. Collect at least six Wood Planks for the Shield recipe.
If you already have Wood Planks in your inventory, you can skip this step. It is always useful to keep extra planks because they are needed for many Minecraft recipes.
Step 3: Find Iron Ore
Next, you need one Iron Ingot. To get one, you first need to find Iron Ore. Explore caves, underground areas, or exposed stone locations where iron can generate. Mine the Iron Ore with a suitable pickaxe and collect it.
You only need enough iron for one Ingot to make a Shield, but collecting extra iron is a good idea. Iron can also be used to make tools, armor, buckets, and many other useful items.
Step 4: Smelt the Iron Ore
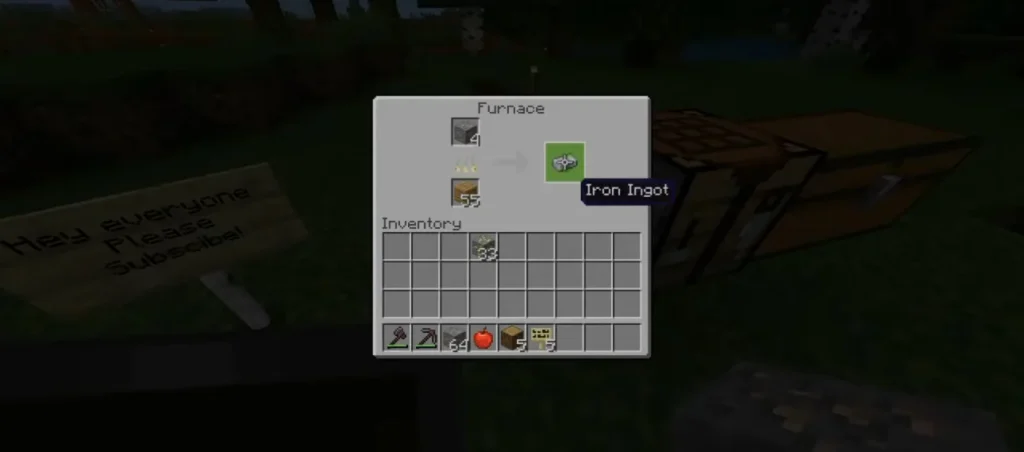
After mining Iron Ore, take it to a Furnace. Open the Furnace and place the Iron Ore in the upper slot. Add a fuel source, such as Coal, Charcoal, or another usable fuel, to the bottom slot. Wait for the furnace to finish smelting. The Iron Ore will turn into an Iron Ingot. Take the Iron Ingot from the output slot and place it in your inventory.
Step 5: Make a Crafting Table
You need a Crafting Table to make the Shield. If you already have one in your base, simply use it. If you do not, you can create one with four Wood Planks. Open your inventory crafting grid and place the four planks in the available squares. The Crafting Table will appear as the result. Place it somewhere convenient so you can use it whenever you need to craft items.
Step 6: Open the Crafting Table
Approach your Crafting Table and interact with it. The Crafting Table opens a 3×3 crafting grid. This is the grid you need for the Shield recipe. Before placing the materials, make sure you have six Wood Planks and one Iron Ingot in your inventory. Having the materials ready will make the crafting process quicker.
Step 7: Place the Iron Ingot
Put the Iron Ingot in the top-middle slot of the Crafting Table. This position is important because the Shield recipe has a specific pattern. The Wood Planks will be arranged around the Iron Ingot to create the shape of a shield. If the items are placed incorrectly, the finished Shield will not appear.
Step 8: Add the Wood Planks
Now place your six Wood Planks around the Iron Ingot. Put three Wood Planks across the top row, with the Iron Ingot occupying the middle position. Then place two Wood Planks in the middle row, one on each side. Finally, put one Wood Plank in the bottom-middle slot. The pattern should form a shield-like shape in the crafting grid. Once all seven materials are in the correct places, you can see a Shield in the result box.
Step 9: Take Your Shield
Look at the output box on the right side of the Crafting Table. The Shield should now be available. Move it into your inventory to finish crafting. If the Shield does not appear, check that you used six Wood Planks and one Iron Ingot. Also make sure the materials are arranged in the correct positions.

Step 10: Equip the Shield
After crafting the Shield, you can equip it in your off-hand slot. Open your inventory and place the Shield in the appropriate off-hand slot. On supported controls, you can also use the relevant equipment controls to place it there. Having the Shield ready in your off-hand allows you to use it while keeping your main hand available for another item, such as a sword or axe.
Use the Shield in Combat
The Shield is most useful when you are under attack. Activate the Shield while facing an incoming attack to block or reduce certain types of damage. This is particularly helpful against Skeletons because their arrows can be blocked when you position the Shield correctly.
A Shield can also give you a moment to recover when fighting multiple enemies. Instead of constantly attacking, you can defend yourself, wait for a good opportunity, and then strike back.
Best Times to Use a Shield
A Shield is useful in many situations. It can help when exploring caves filled with Skeletons, fighting groups of hostile mobs, or traveling through dangerous areas. It is also valuable during nighttime exploration. When several enemies attack at once, blocking incoming damage can give you more control over the fight. Players who enjoy survival gameplay should consider keeping a Shield with their regular equipment. It takes little space and can make difficult battles much easier.
Can I Customize a Shield?
Minecraft also allows players to add designs to Shields using a Banner in supported versions. This gives your Shield a more personal appearance instead of leaving it with its standard look.
You can create a Banner with your preferred colors and patterns and then combine it with a Shield using the appropriate crafting process. This is a fun option if you want your equipment to match your base, team, or personal style.
Why a Shield Is Useful?
The biggest advantage of a Shield is simple: protection. It gives you another way to defend yourself without relying only on armor and food. A Shield is especially useful for new players because it can reduce the pressure of difficult fights. Instead of trying to dodge every projectile, you can defend yourself and choose a safer moment to attack.
It is also inexpensive compared with many other pieces of equipment. Wood is easy to find, while one Iron Ingot is a small investment for an item that can remain useful throughout your survival adventure.