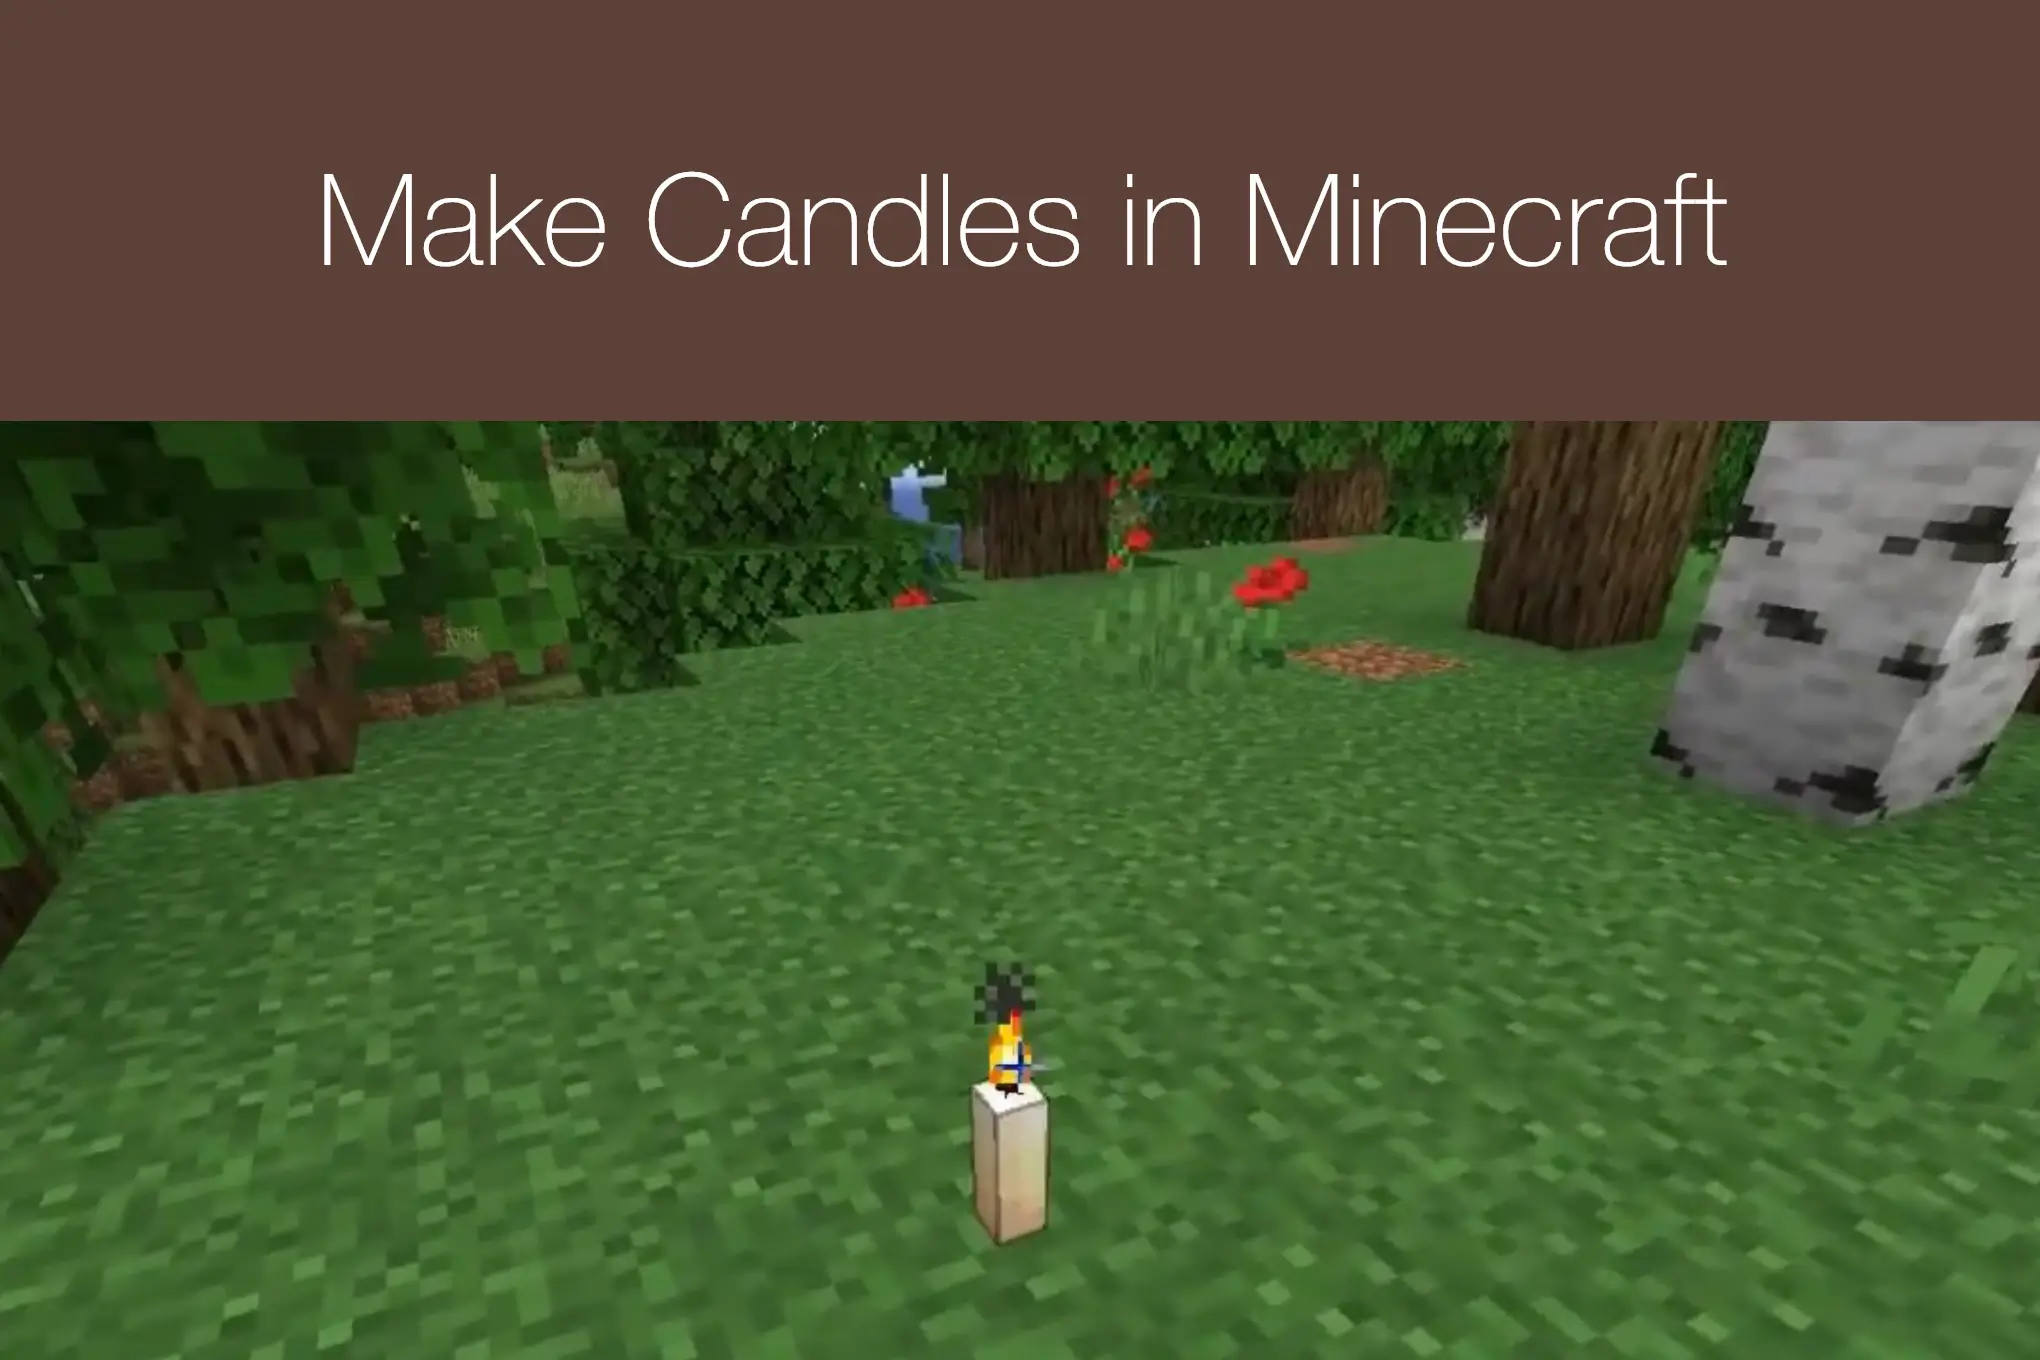
Candles in Minecraft APK are decorative items that players can craft to get a warmer feel in darker areas. Learn how to make candles in Minecraft and use soft light instead of heavy light sources. With cluster of candles, make your evenings more aesthetic and beautiful.
What You Need to Make a Candle in Minecraft?
To make a candle, you need two main items: one piece of string and one honeycomb. String is a common item that you can get by defeating spiders, breaking cobwebs, or finding it in some generated structures and loot. Honeycombs are collected from bee nests or beehives by using shears when the nest or hive is full of honey. Be careful around bees because taking honeycomb without the right approach can make them angry.
Once you have one string and one honeycomb, you can craft a candle. You do not need a special crafting station, furnace, or complicated setup. A normal crafting table is enough. Candles can also be dyed into different colors, which makes them especially helpful for colorful homes, event areas, bedrooms, restaurants, castles, and other decorative builds. Having several colors available lets you create a candle arrangement that fits the style of your Minecraft world. Also learn How to Make a Redstone Lamp in Minecraft.
Step 1: Gather the Materials
Before starting the crafting process, collect one honeycomb and one string. You can find honeycomb by locating a bee nest or beehive that is filled with honey. Use shears to collect the honeycomb. For string, spiders are one of the easiest sources. You can also find cobwebs underground and break them with a sword to obtain string. Make sure both items are in your inventory before moving to the next step.
Step 2: Open the Crafting Table
Next, find and open a crafting table. A crafting table gives you the 3×3 crafting grid needed for making many Minecraft items. You can make one from four wooden planks if you do not already have it. Right click the crafting table on a computer, or use the normal interaction button for your platform, to open the crafting menu.
Step 3: Place the String and Honeycomb
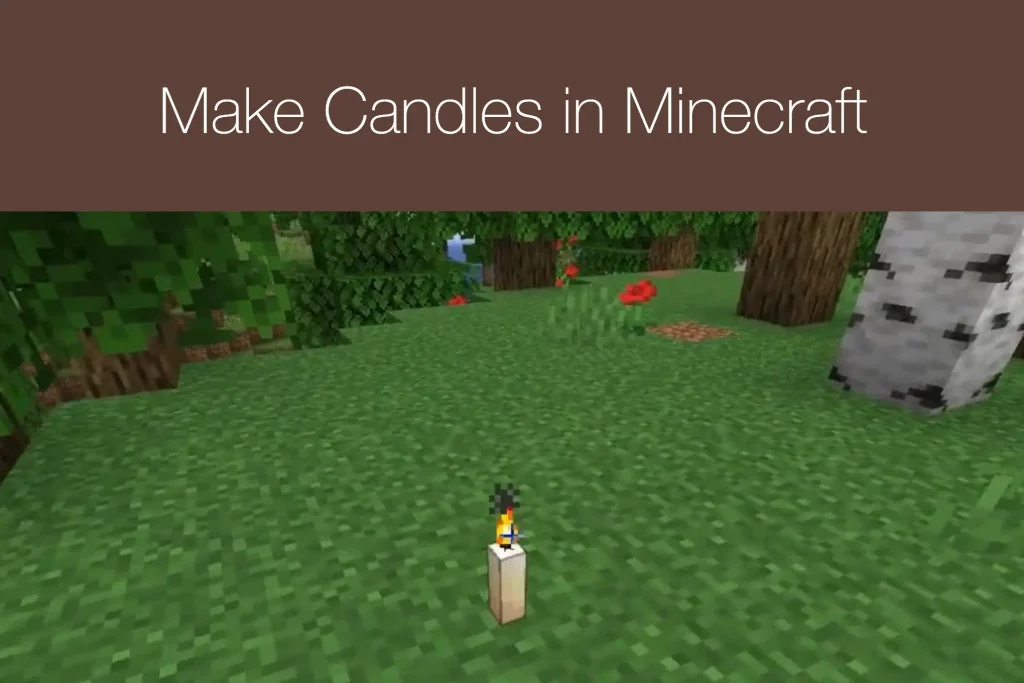
Now arrange the ingredients in the crafting grid. Put one string in a slot directly above one honeycomb. The two ingredients should be placed vertically, with the string on top and the honeycomb underneath it. Once the items are in the correct positions, a candle should appear in the result box. This is the basic recipe needed to make a candle in Minecraft.
Step 4: Move the Candle to Your Inventory
Take the newly crafted candle from the result box and place it in your inventory. You can repeat the recipe as many times as needed. Making several candles is a good idea because they are often more attractive when grouped together rather than used alone. The crafting recipe is quite cheap, so you can prepare a useful collection once you have access to bees and a steady supply of string.
Step 5: Make Colored Candles
Minecraft also lets you create colored candles. To change the candle’s color, place one regular candle and one dye together in the crafting grid. The dye determines the candle’s new color. For example, using red dye creates a red candle, while blue dye creates a blue candle.
There are many dye colors available in Minecraft, so you can create candles that match your building theme. White candles are useful for simple designs, while bright colors can make party areas, bedrooms, shops, or fantasy builds stand out.
Step 6: Place the Candle
After crafting your candle, choose a suitable location for it. Hold the candle in your hand and place it on a block that can support it. Candles work well on tables, shelves, counters, floors, and other flat surfaces. Their small size makes them useful when you want lighting without filling an area with large light sources.
You can place several candles on the same block. Up to four candles of the same color can occupy one block, creating a grouped arrangement that looks similar to a small cluster of real candles.
Step 7: Light the Candle
A candle does not automatically produce light after you place it. You need to light it. One simple way to do this is by using flint and steel. Hold the flint and steel, then interact with the candle. When successfully lit, the flame will appear above it and the candle will begin giving off light.
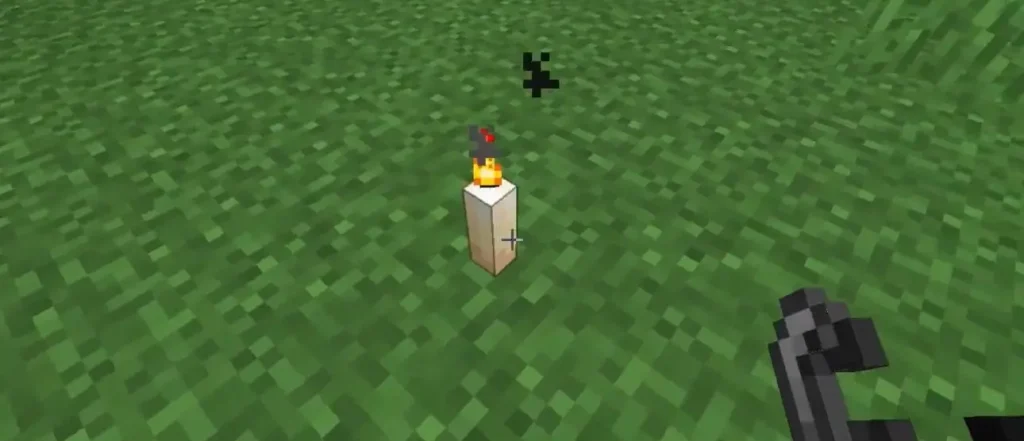
A single candle gives off a small amount of light. When you place more candles together, the overall light becomes brighter. Four candles on the same block provide a much stronger glow than one candle by itself.
Step 8: Extinguish the Candle
You can also put out a lit candle when you no longer need it. Interact with the lit candle using the appropriate action for your platform to extinguish the flame. This allows you to turn decorative lighting on and off without breaking the candle.
Being able to relight candles later makes them handy for areas that you want to change between bright and dark moods.
Step 9: Use Candles on a Cake
One of the most fun candle features in Minecraft is using one on a cake. Place an uneaten cake in your world, then use a candle on the cake. The candle will become a cake candle. You can then light it to create a small birthday-style decoration.
This is a great detail for kitchens, party rooms, restaurants, or special builds. Once the cake is eaten, the candle is removed along with the cake.
How Candles Help With Minecraft Builds
Candles are especially useful when you want lighting that also looks decorative. Torches are excellent for survival and large areas, but they can sometimes look too basic in carefully designed interiors. Candles are smaller and can be blended into furniture and decorations more naturally.
Try placing them on dining tables, bookshelves, kitchen counters, bedside tables, or around an enchanting room. Colored candles can also be used to create patterns or themes. A row of red and white candles, for example, can give a festive appearance, while darker colors can work well in medieval or mysterious builds.