
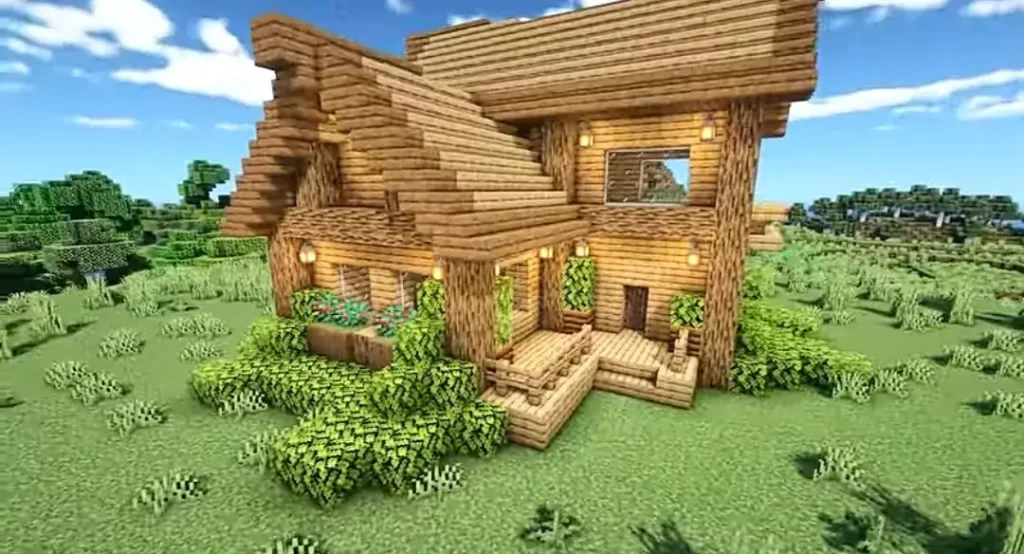
In the Survival mode of Minecraft, you can build a stunning starter Minecraft oak survival house that could be the best choice for building and living in the survival world. It is one of the best looking wooden houses having a small terrace area with beautiful decorations. You can build this house in Replay mode for a more beautiful and realistic look.
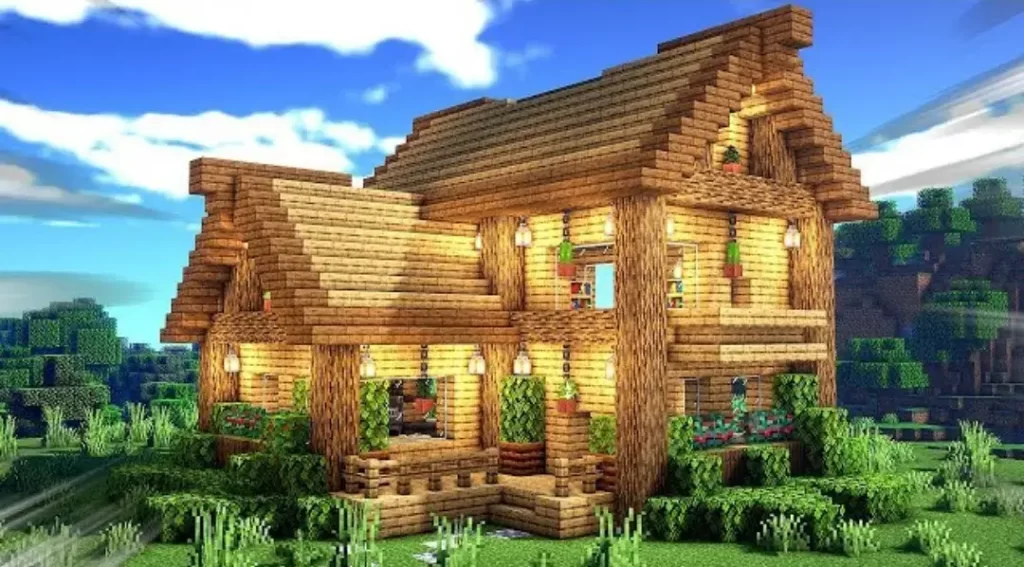
Ultimate Guide on Building Oak Survival House
Minecraft allows players to craft and build unlimited items and astonishing structures in different versions and modes. For building a best oak starter survival house in Minecraft, Survival mode is best suited. As survival mode is for the beginners of the game and offers a lot of difficulties to the players in terms of building and surviving, this oak house is best to build with our step by step guides. In this article, we have provided an ultimate guide on making this beautiful house with pictures on each step. Moreover, you have to use BSL shaders to make this oak house.
Step 1: Create Foundation
So, in the first step of building an oak house, you have to create a foundation base. You can use the base dimensions as shown in the picture below.
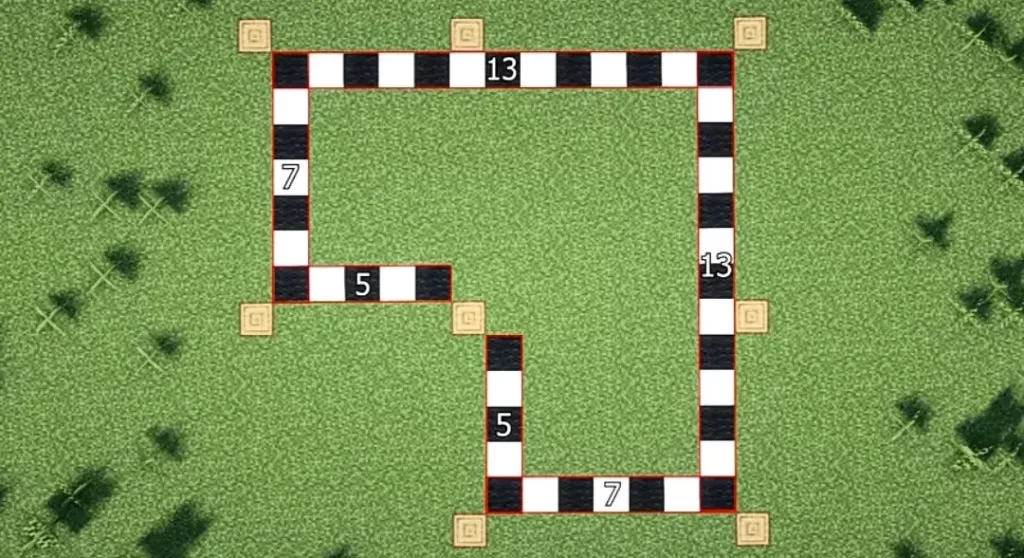
Once done mapping the base, build pillars on each of the wood blocks up to 10 blocks excluding the front part having dimensions of 7 blocks. Build pillars up to 6 blocks in this area. After that connect the pillars. Further more, Don’t forget to check out Minecraft Wild West Map.

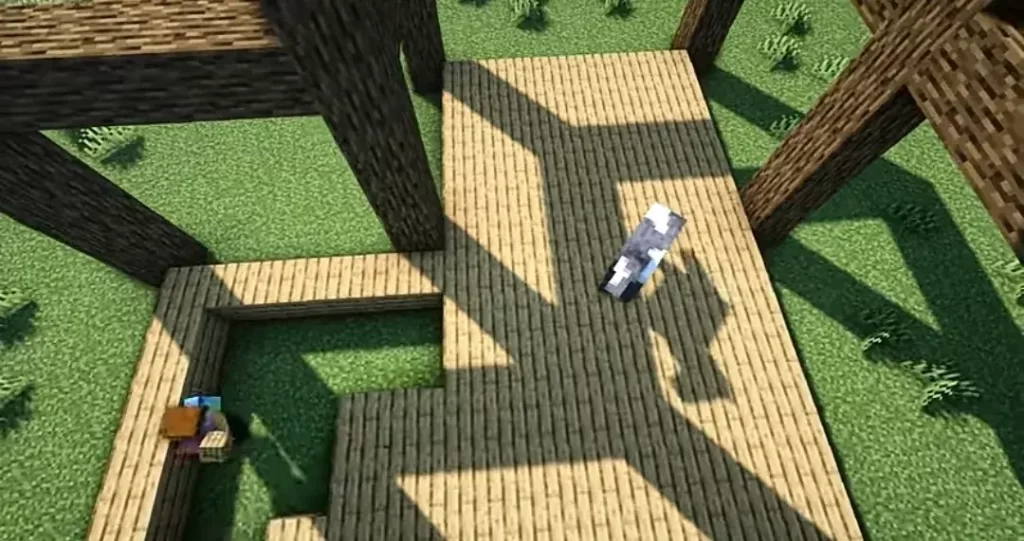
Step 2: Building Floor
In the second step, you have to build an oak floor of your house.
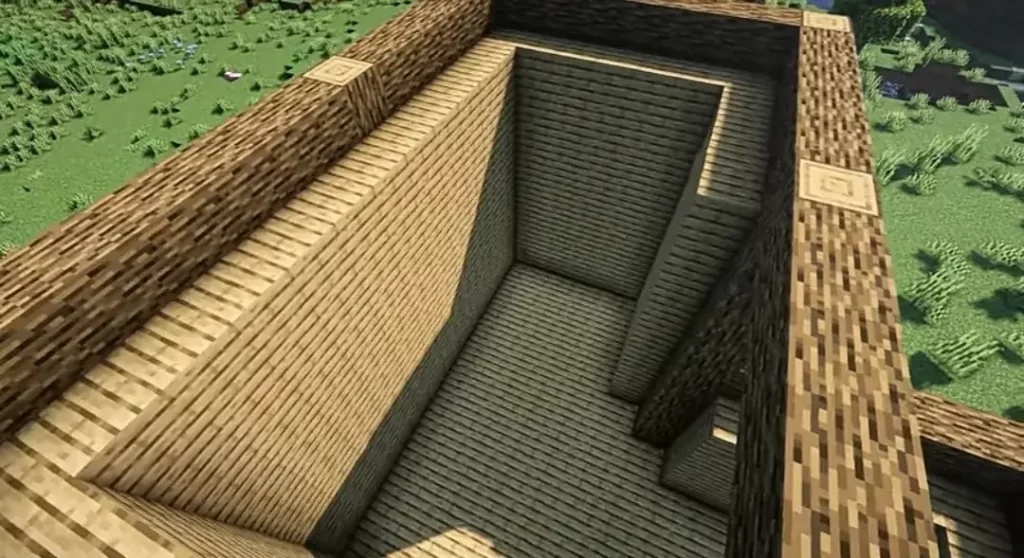
Step 3: Build Walls
Now it’s time to build oak walls of your house. Make sure each wall has the same height.
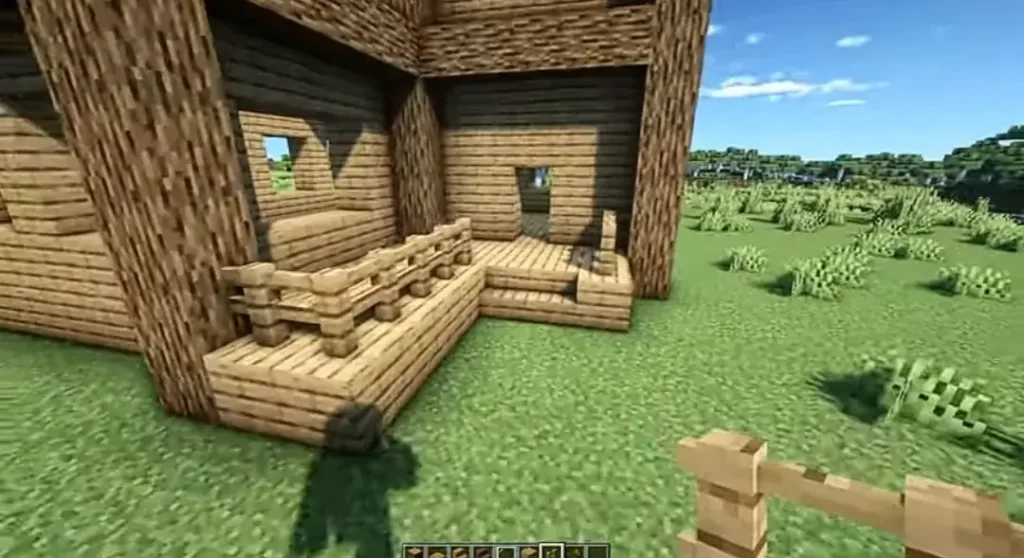
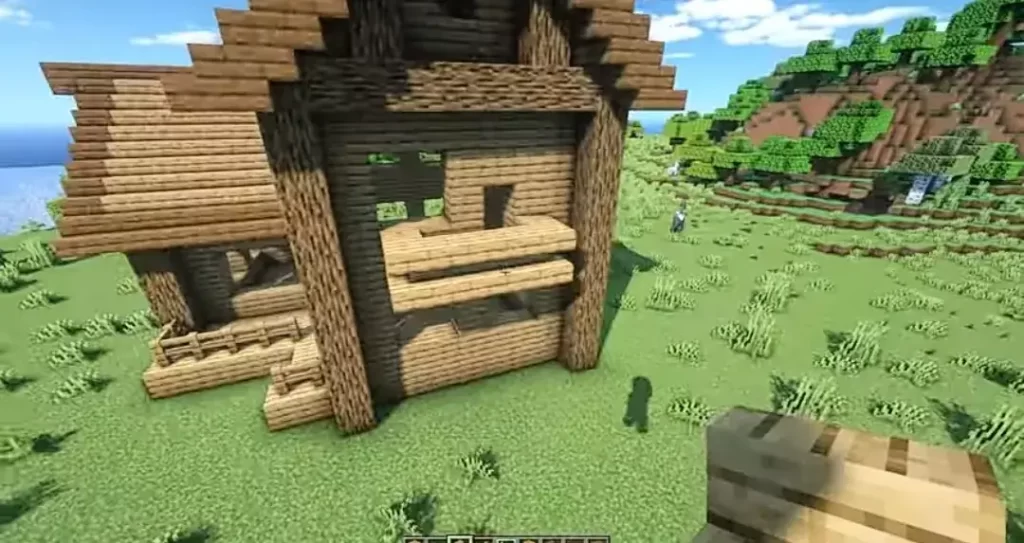
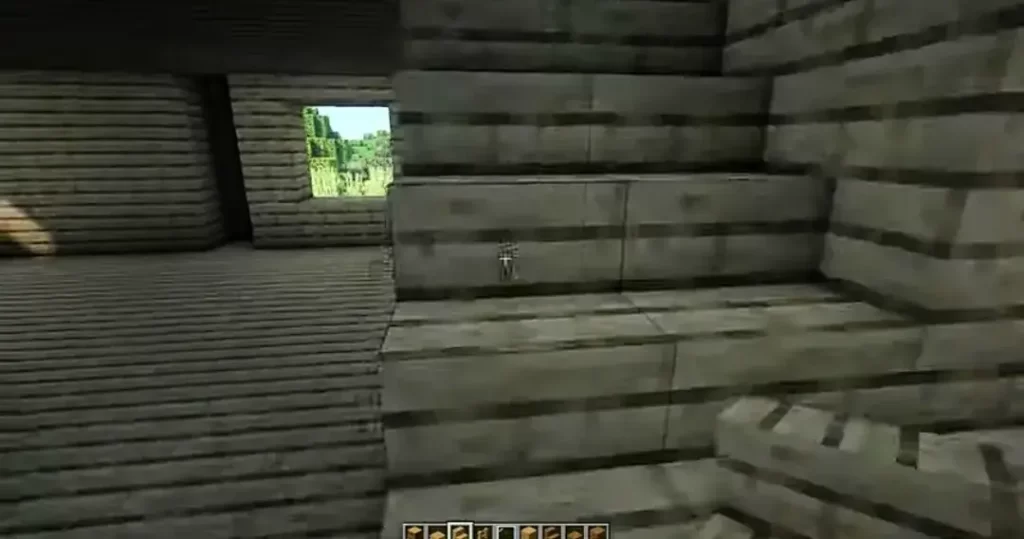
Step 4: Build Side Part
After building walls, remove some blocks from side of the house for adding a window. Also build stairs using oak planks. Below the window, you can add fence for decoration.
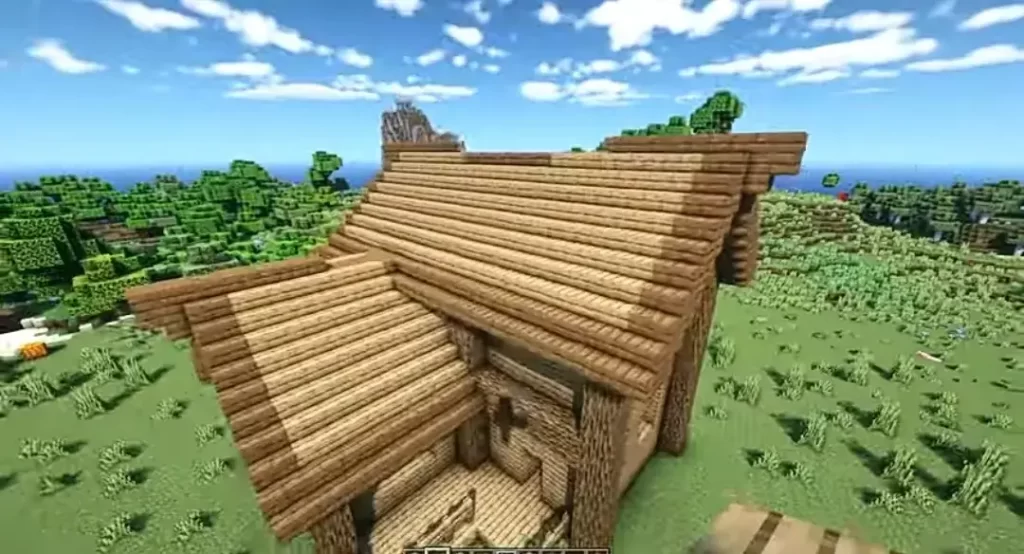
Step 5: Build Roof
Once done building the side part of the house, build a roof for both the front part house and back part house. You have to build a roof using oak stairs by adding one stair on the end of the second another stair as shown in the picture below.
Step 6: Build Terrace
If you love a terrace in your house, you can build a beautiful terrace on the 2nd floor of your house.
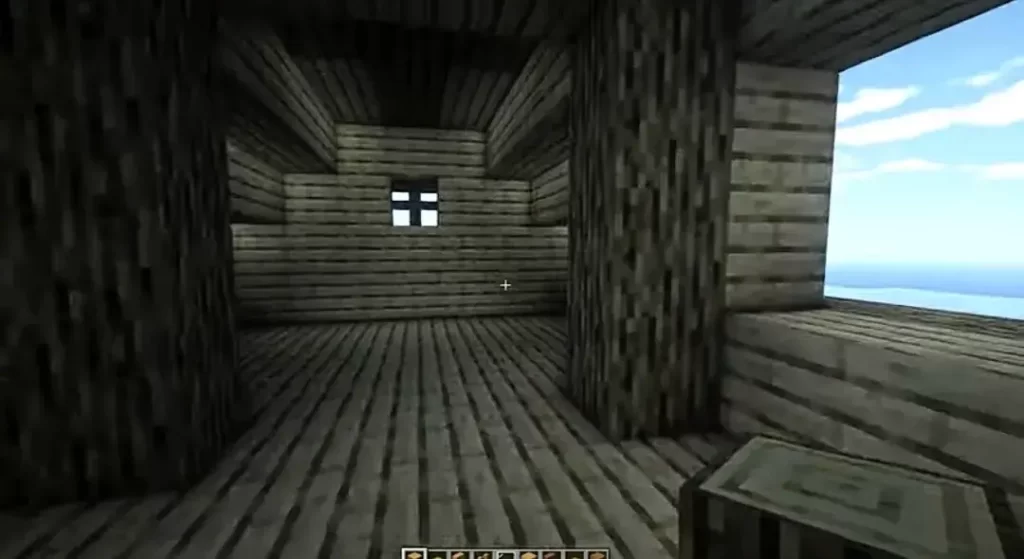
Step 7: Finish Interior
Using slabs and oak planks, build the interior of your house including floor.
Step 8: Build Stairs
To go to the second floor of the house, you need to build stairs.
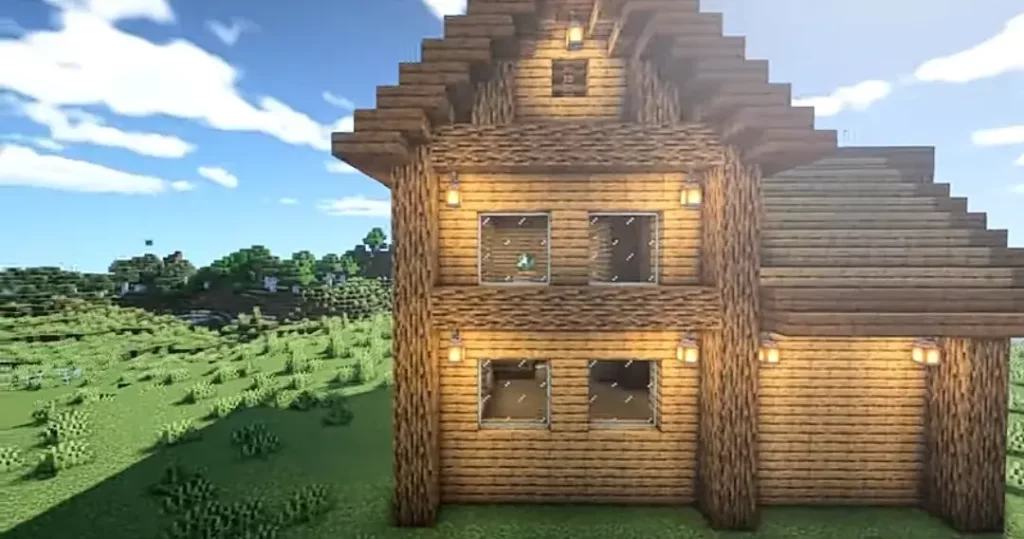
Step 9: Add Windows
It’s time to add windows to your house. Add windows on all the space gaps. Besides adding windows, also place lanterns on all the windows.
Step 10: Decorate Your House
Now decorate your house from outside by placing oak leaves and flowers of your choice on all sides. Moreover, you can add flower pots and chains for a more beautiful look.
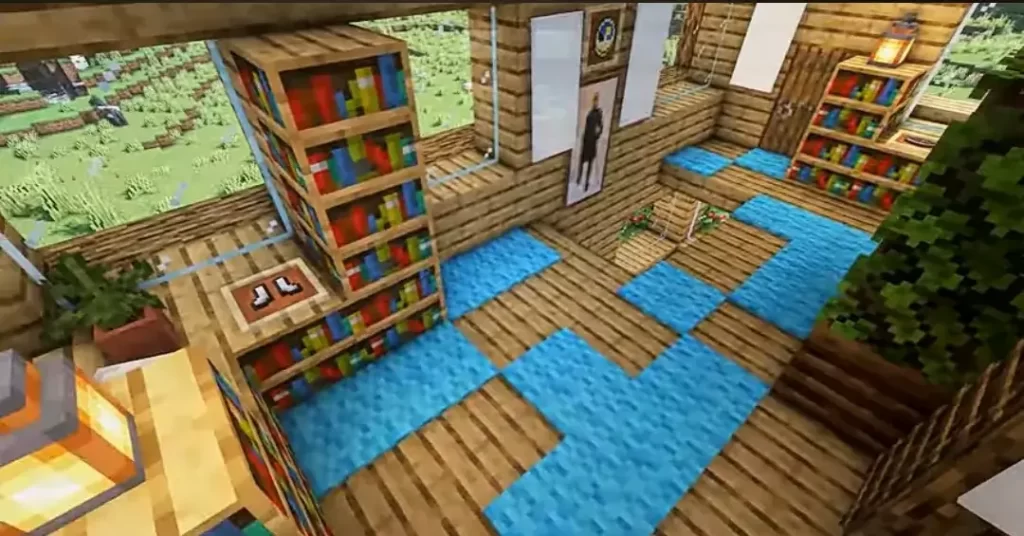
Step 11: Furnish Your Interior
Once done decorating outside of the house, furnish your interior of the house, add different furniture and decorations including bookshelf, bed, sofa, lanterns or carpets.
Closing Thoughts
To conclude the ultimate guidance on building a beautiful oak survival house, we recommend you to modify the interior and exterior of the oak house with the best decorations you have imagined for your realistic house. According to your personal choices, modify this house and make it look even more better. So, have fun constructing.


