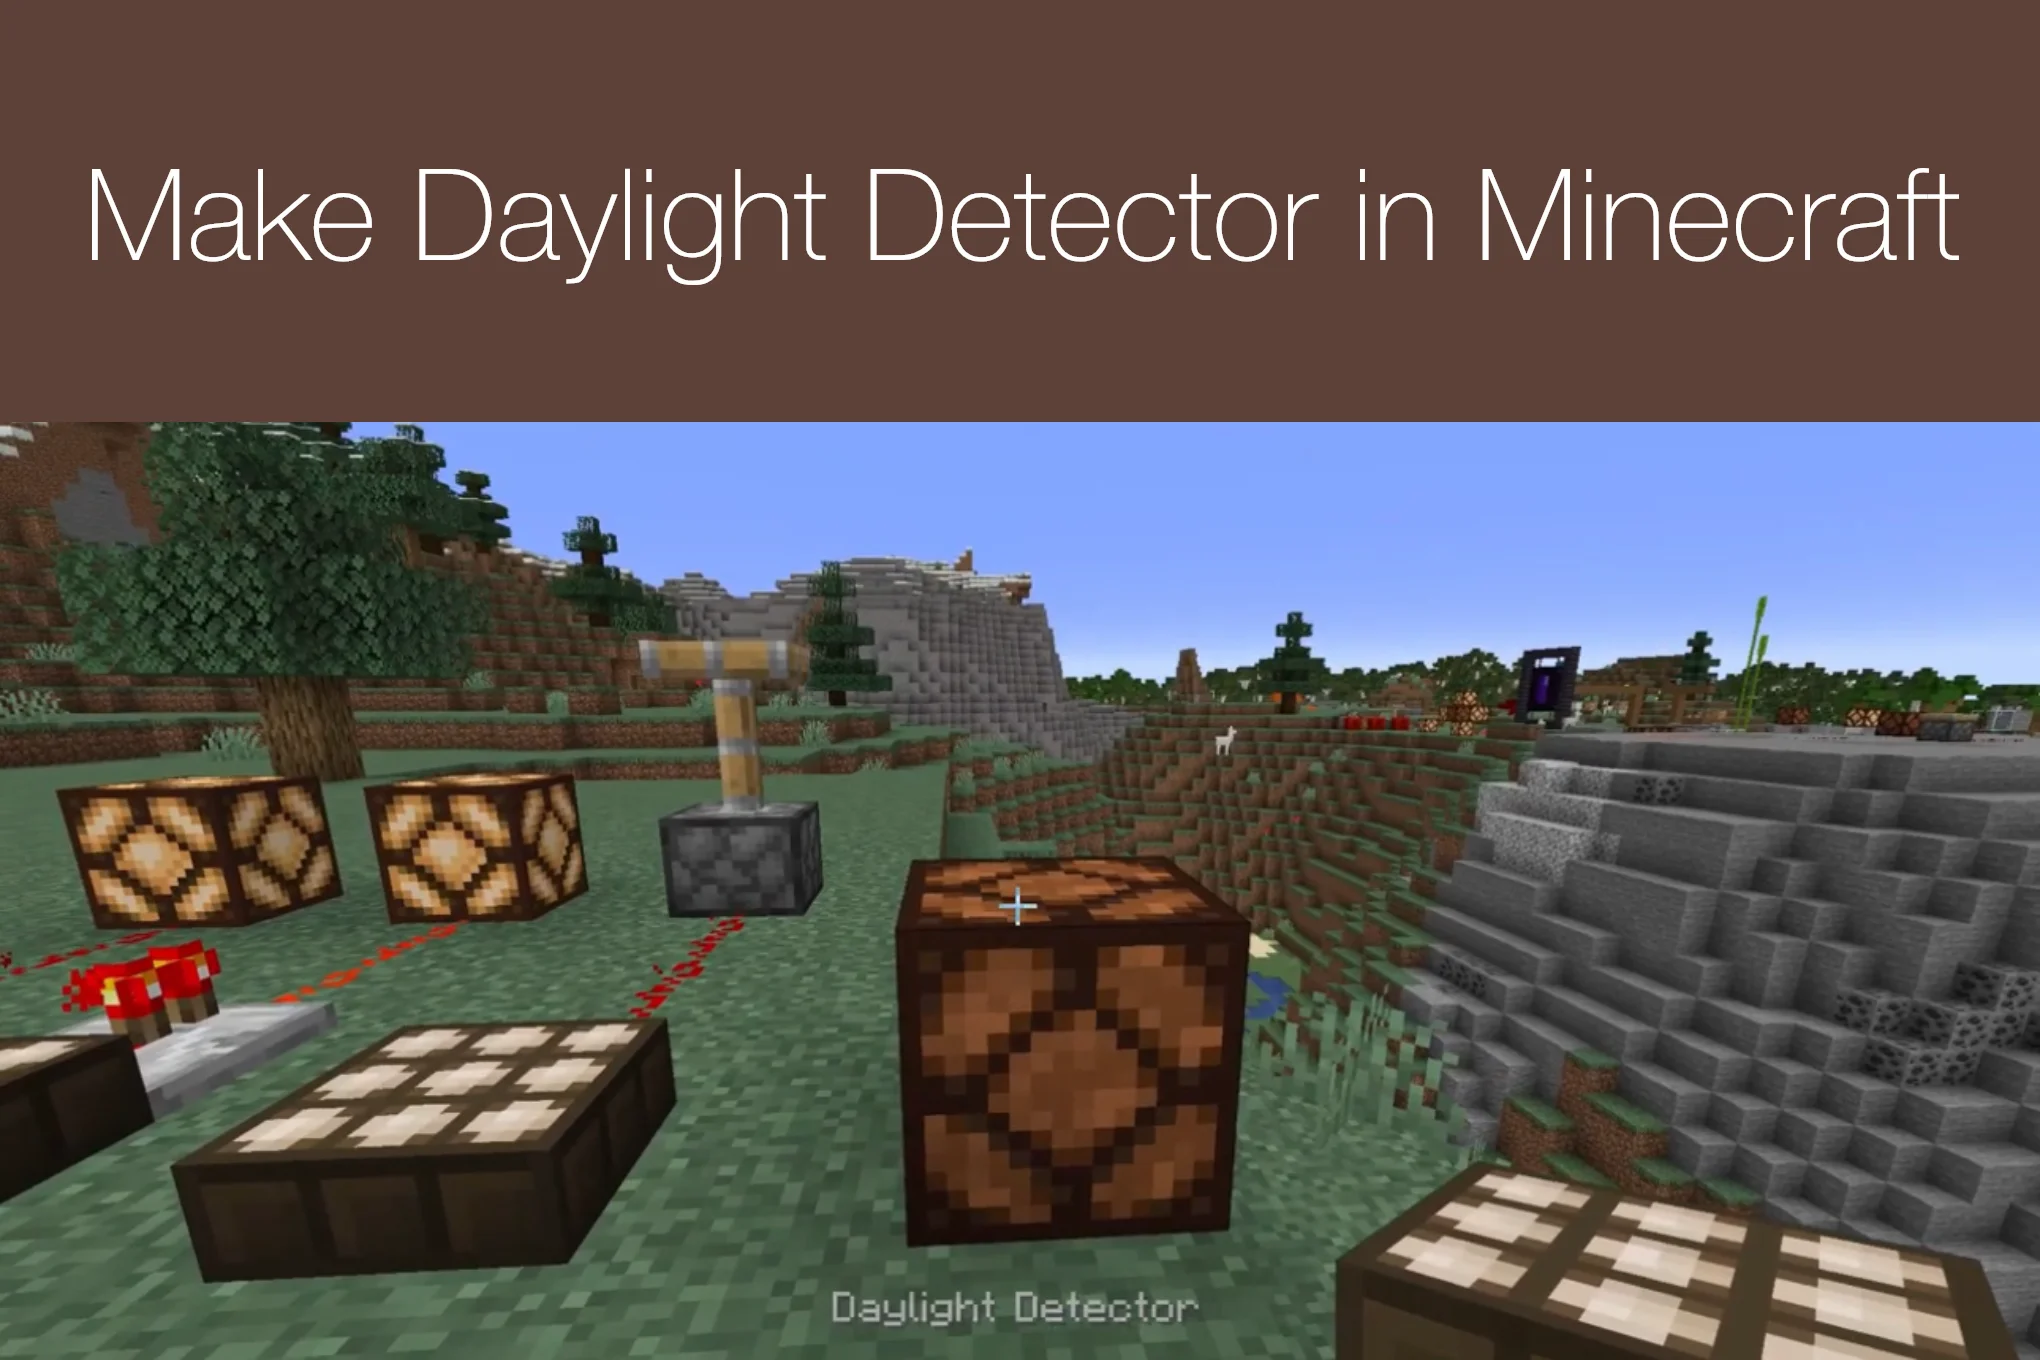
Add time base automation system in your Minecraft by making a daylight detector that uses Redstone signals. You can analyze the light round your world and build the stronger light system using this machine. Weather you use it in farms or automatic doors, its worth using.
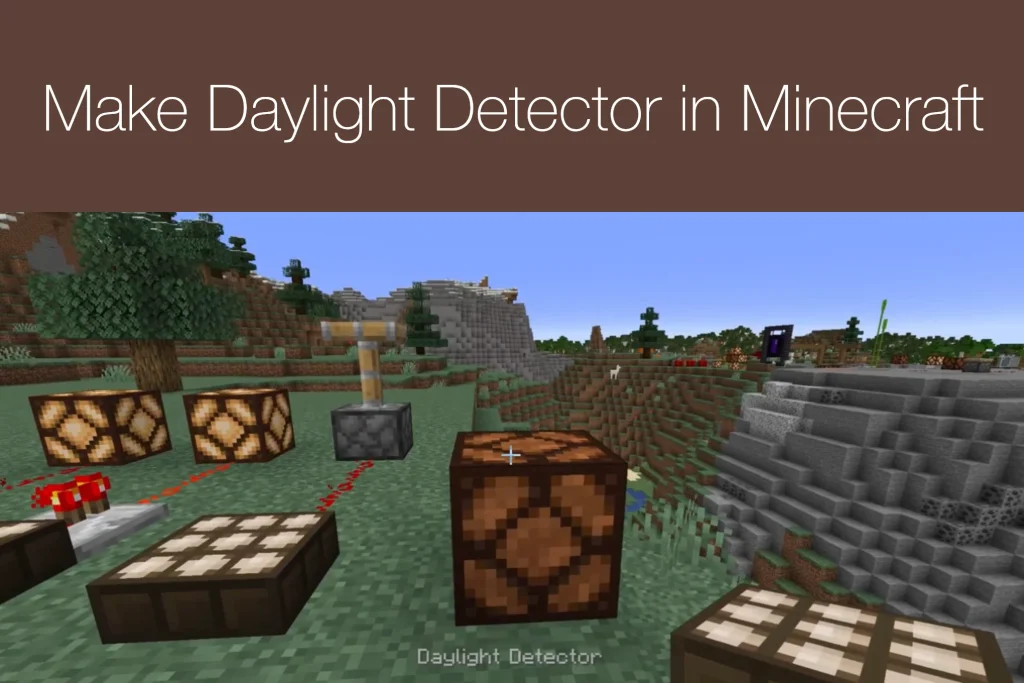
Guide on Making a Daylight Detector in Minecraft PE
A Daylight Detector in Minecraft APK is a useful redstone block that can detect the amount of daylight around it. Instead of checking the sky yourself, you can use this block to create automatic systems that work according to the time of day. For example, it can turn lights on when the sun goes down and switch them off again when morning arrives. It is especially helpful for players who enjoy building automatic houses, farms, street lights, and other redstone projects.
Learning How to make a Daylight Detector in Minecraft is fairly simple once you have the right materials. The recipe does not require rare ores or complicated redstone machinery. You mainly need wooden slabs, Nether quartz, and glass. After collecting these items, you can use a crafting table to make the detector and place it wherever you want to control a redstone-powered device. Also checkout our latest blog on How to Make a Fishing Rod in Minecraft.
What Is a Daylight Detector in Minecraft?
A Daylight Detector, also called a daylight sensor, is a redstone block that produces a redstone signal based on the light level it receives from the sky. During the daytime, the detector can send a stronger signal, while the signal becomes weaker as the sun moves down. This makes it a convenient tool for creating time-based redstone machines.
You can place a daylight detector on top of a building, near a road, beside a farm, or anywhere else where it can receive sky light. One of its most common uses is automatic lighting. Players can connect it to redstone lamps so that their lights respond to the changing daylight. You can also use it for doors, alarms, farms, clocks, and other creative builds.
Materials Needed to Make a Daylight Detector
Before opening your crafting table, collect the following materials:
- 3 Glass
- 3 Nether Quartz
- 3 Wooden Slabs
The wooden slabs can be made from different types of wood, depending on your Minecraft version and the materials you have available. Nether quartz is obtained from Nether quartz ore in the Nether, while glass can be smelted from sand. Once you have all nine required items, you are ready to craft the daylight detector.
How to Make a Daylight Detector in Minecraft
Follow these simple steps to create your own daylight detector.
Step 1: Collect Glass
First, gather three pieces of glass. If you do not already have glass, collect some sand from a beach, desert, or another sandy area. Place the sand inside a furnace and add fuel. After the furnace finishes smelting, the sand will become glass. Collect three glass blocks for the recipe.
Step 2: Get Nether Quartz
Next, you need three pieces of Nether quartz. Travel to the Nether and look for Nether quartz ore. It commonly appears on the walls and surfaces of the Nether.
Mine the ore with a suitable pickaxe and collect at least three pieces of quartz. Be careful while exploring the Nether because hostile mobs and dangerous lava can make resource gathering risky.
Step 3: Make Wooden Slabs
You also need three wooden slabs. If you have wooden planks, making slabs is easy. Open your crafting table and place three matching wooden planks in a horizontal row. This produces six wooden slabs. You only need three for one daylight detector, so you can save the extras for another build.
Step 4: Open the Crafting Table
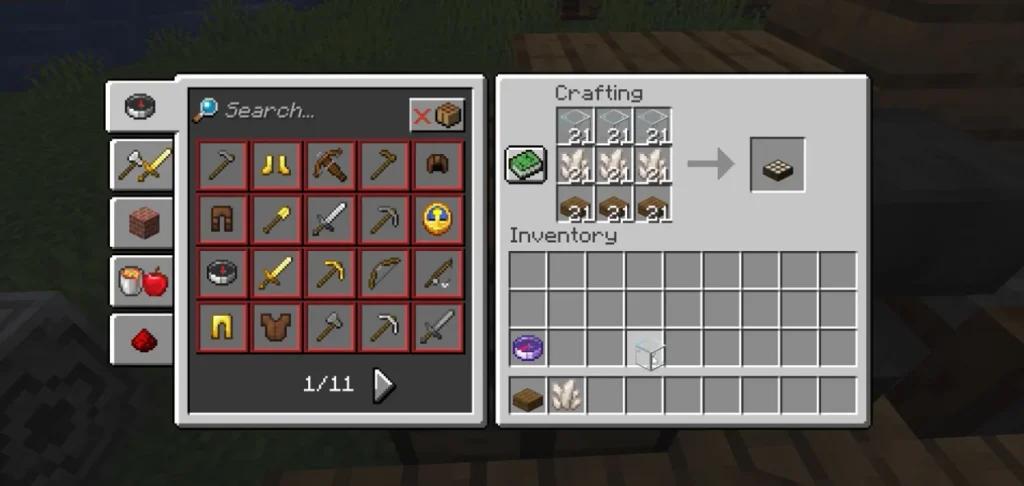
After collecting all the materials, open your crafting table. You will see the 3×3 crafting grid where the ingredients must be arranged in the correct pattern. Make sure you have three glass blocks, three Nether quartz, and three wooden slabs in your inventory before starting.
Step 5: Arrange the Ingredients
Now place the materials into the crafting grid in this pattern:
Top row: Glass | Glass | Glass
Middle row: Nether Quartz | Nether Quartz | Nether Quartz
Bottom row: Wooden Slab | Wooden Slab | Wooden Slab
The placement is important because Minecraft recipes normally require the ingredients to be positioned in a specific arrangement.
Step 6: Collect the Daylight Detector
When all the items are placed correctly, a daylight detector will appear in the result box. Move the finished daylight detector into your inventory. You can now take it to the location where you want to build your Redstone system.
How to Use a Daylight Detector
Using the detector is just as important as crafting it. Place the block in an open area where it has access to daylight from the sky. If you put it under a solid roof, its ability to detect sunlight may be affected.
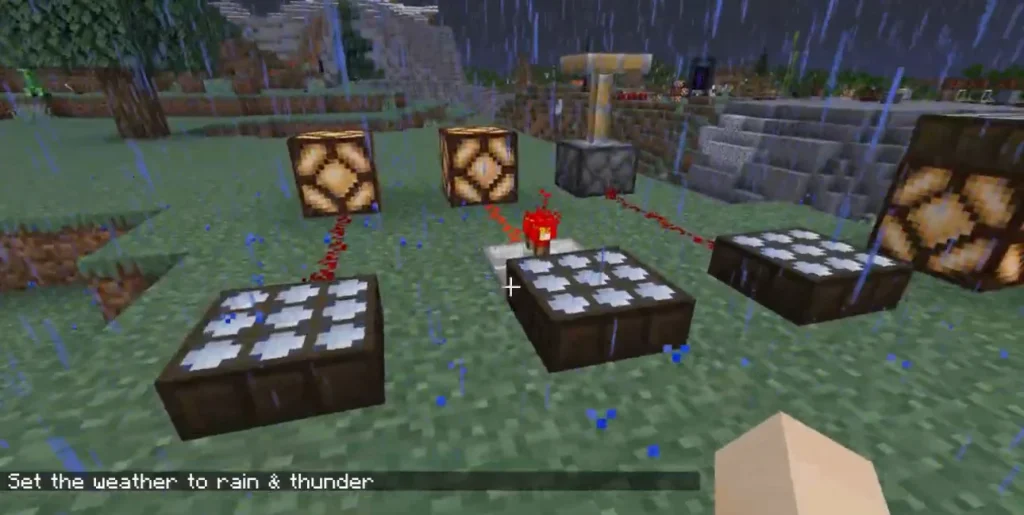
The detector produces a redstone signal according to the daylight it receives. You can connect redstone dust from the detector to other redstone components. For example, connect it to a redstone lamp to create an automatic lighting system.
During the day, the detector can provide a signal that keeps your lighting system switched off when arranged appropriately. As night approaches, you can design the circuit so that the lights turn on automatically.
How to Make Automatic Night Lights
One of the easiest projects for a daylight detector is an automatic street-light system. Place your detector where it can see the sky, then connect it to a redstone circuit leading to redstone lamps.
You can place lamps along roads, around your Minecraft house, or beside a garden. When the daylight changes, the circuit can respond without requiring you to flip a lever manually.
If you want the lamps to work mainly at night, you can also use the detector’s inverted mode. This can be activated by interacting with the daylight detector, depending on the Minecraft edition and version you are playing.
Creative Uses for a Daylight Detector
A daylight detector is not limited to simple lamps. Redstone players can include it in many different builds.
Automatic Doors
You can connect a daylight detector to a redstone door system. This can make a door open or activate at a particular time of day. It is a fun addition to modern houses and adventure builds.
Farm Systems
Some automatic farms can use daylight-based redstone signals as part of their operation. A detector can help trigger certain machines during daytime or nighttime, depending on how the circuit is designed.
Warning Systems
You can also connect the detector to a redstone device that produces a warning signal. This can be useful for adventure maps, bases, or custom Minecraft challenges where events need to happen at a certain time.
Decorative Lighting
For builders, automatic lighting is one of the most useful applications. You can hide the redstone wiring underground and place lamps around your town, castle, village, or modern city.
Tips for Using a Daylight Detector
Place the detector somewhere with a clear view of the sky for more reliable daylight detection. Avoid covering it with blocks that prevent sunlight from reaching it.
You should also think about where you want the redstone signal to travel before placing the detector. Planning the wiring first can save you from breaking blocks and rebuilding your circuit later.
If you are creating a large lighting system, test it during different times of the Minecraft day. This helps you understand how the detector responds as daylight changes.