Name tag is the main thing every player want to give custom name to mobs, items or other things. You can’t craft it in Minecraft but obtain by searching different locations by yourself. In this article, we will guide you on making a name tag with proper steps, using anvil and giving custom names.
Learn Making a Name Tag in Minecraft
A Name Tag is a useful Minecraft item that lets you give a custom name to many mobs. You can use it to name a pet, mark a special animal, or give a funny name to a mob in your world. However, you cannot simply craft a Name Tag with common materials like iron or paper. Instead, you need to find one through exploration or other methods and then use an anvil to apply the name. Learning how to make a Name Tag in Minecraft Pocket Edition is helpful when you want to organize your animals or give your favorite mobs a personal touch.
Name Tags are especially useful in survival mode because named mobs can be easier to recognize. After you give a mob a name, the name appears above it when you look at the mob. You can use names for horses, wolves, cats, villagers, and several other mobs. The process is simple once you have the required items, but you need to follow the correct steps. Also checkout How to Make a TV in Minecraft.
What You Need to Make a Name Tag in Minecraft
Before you start, it is important to understand that a Name Tag does not have a normal crafting recipe. You cannot place materials on a crafting table and create one. Instead, you need to obtain a Name Tag and then use an anvil to change its name.
To rename the Name Tag, you need an Anvil and enough experience levels. You can find Name Tags while exploring certain structures or obtain them through activities such as fishing and trading, depending on your Minecraft version and game settings. Once you have one, the anvil allows you to type the custom name you want to use. The following steps explain how to make a Name Tag in Minecraft and use it on a mob.
Step 1: Find a Name Tag
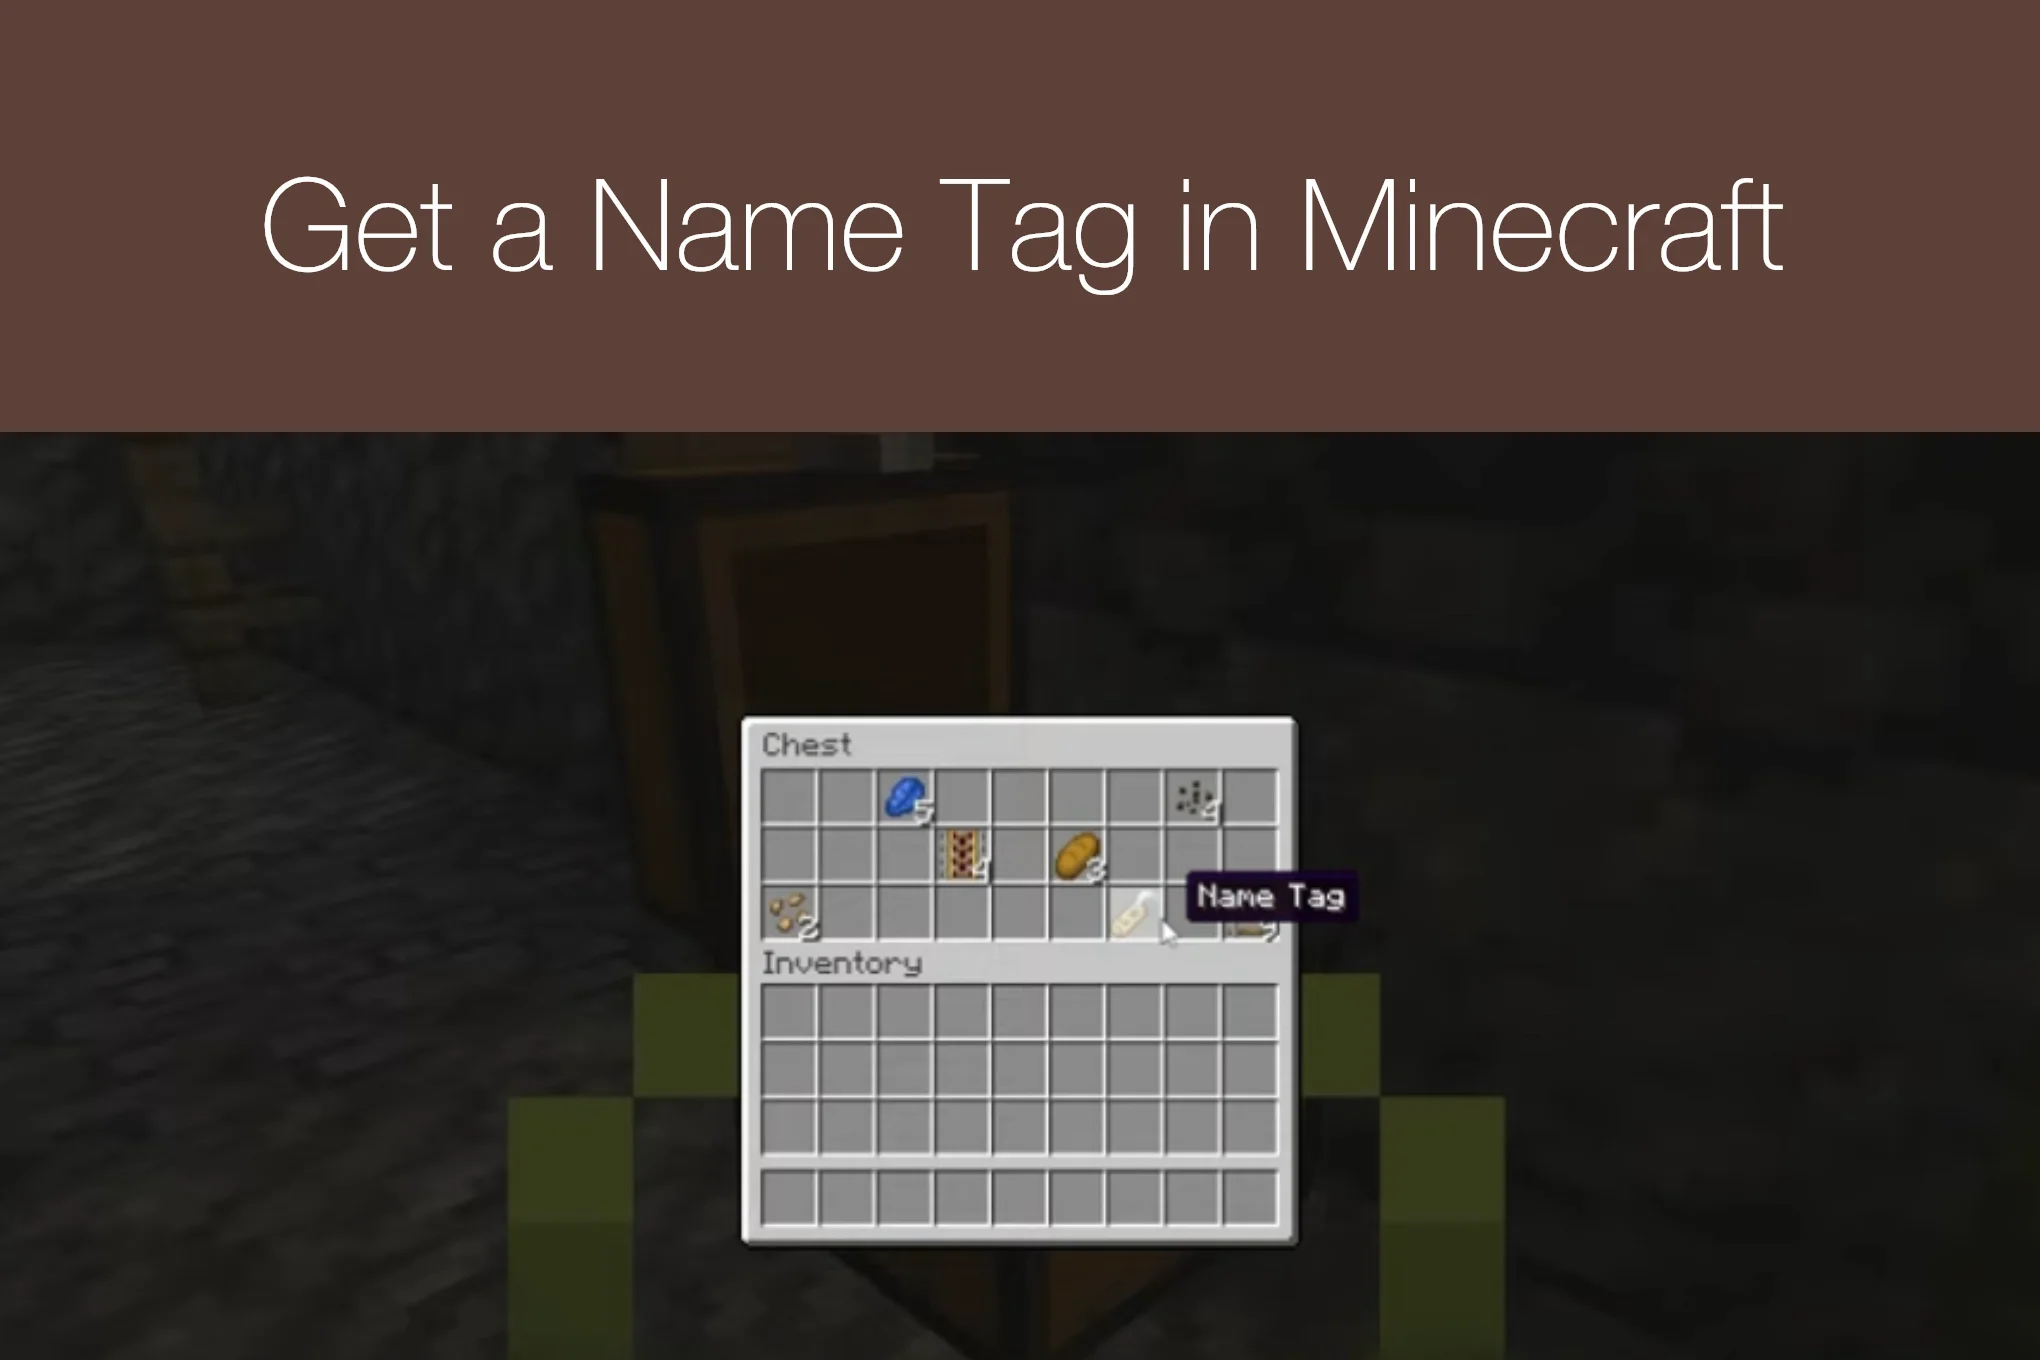
The first thing you need is a Name Tag. You cannot craft this item at a crafting table, so you must obtain it in another way. One method is exploring structures that can contain valuable loot. Search places such as dungeons, mineshafts, woodland mansions, and other structures where treasure chests may appear. The exact structures and loot can vary between Minecraft editions and versions. Take your time while exploring because finding a Name Tag is not always guaranteed. Check chests carefully whenever you discover a structure.

Step 2: Get an Anvil
After obtaining a Name Tag, you need an Anvil to give it a custom name. If you do not already have one, you can craft an anvil using iron. You need three iron blocks and four iron ingots to make an anvil. Open your crafting table and arrange the iron blocks across the top row. Place one iron ingot in the center of the second row, then put three iron ingots across the bottom row. Once the anvil is crafted, place it somewhere convenient in your base. You will use it to rename the Name Tag.
Step 3: Collect Experience Levels
Renaming a Name Tag requires experience. You can see your available experience level above your hotbar while playing. If you do not have enough experience, defeat mobs, mine ores, smelt items, trade with villagers, or use other activities that provide experience. You do not need a huge amount of experience for a basic Name Tag rename, but you should have enough levels before using the anvil. Keep in mind that the anvil displays the experience cost before you confirm the action.
Step 4: Open the Anvil
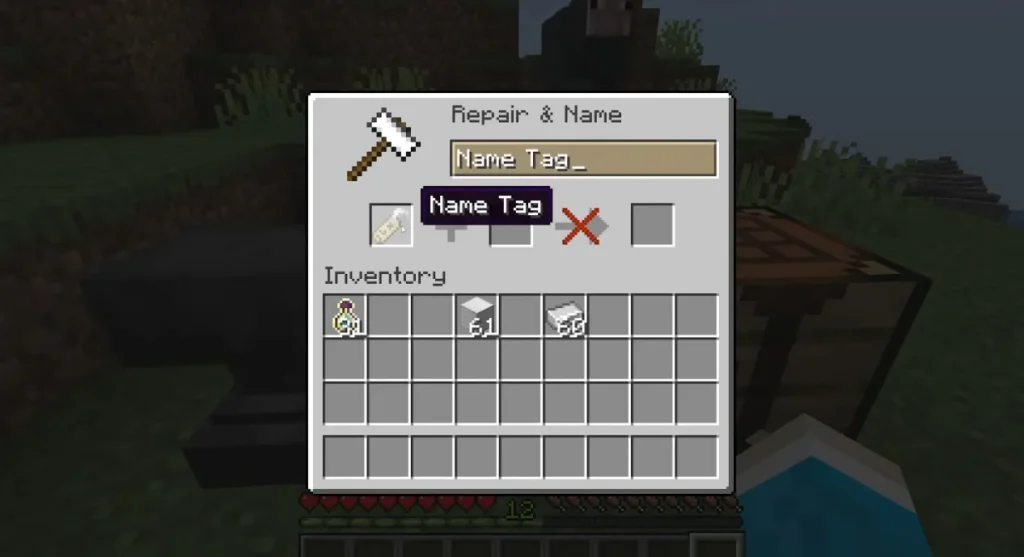
Place the anvil on the ground and interact with it to open its menu. You will see slots where you can place items. The anvil also has a name field where you can enter the new name. This is where you will create the custom name for your Name Tag. Make sure you have the Name Tag in your inventory before continuing.
Step 5: Place the Name Tag in the Anvil
Move the Name Tag from your inventory into the appropriate input slot of the anvil. After placing it there, the anvil will show the item and provide a space where you can change its name. The original item name can be replaced with the name you want to give to the mob. Choose a name that is easy to remember. You could use names such as Buddy, Shadow, Max, Lucky, or anything else you like.
Step 6: Enter a Custom Name
Click the name field in the anvil and type your chosen name. You can make the name simple or creative. For example, you might name a horse “Speedy” or a wolf “Guardian.” Naming mobs is also a fun way to make your Minecraft world feel more personal. Check the spelling before completing the process. Once the Name Tag has been renamed, you can take it from the output slot.
Step 7: Take the Renamed Name Tag
When the new name appears in the result slot, check the experience cost shown by the anvil. If you have enough experience, take the renamed Name Tag and place it in your inventory. The tag is now ready to use. Remember that you are not creating a new Name Tag at this point. You are changing the name of an existing Name Tag so that it can be applied to a mob.
Step 8: Find the Mob You Want to Name
Now find the mob that you want to give a name. Name Tags can be used on many different mobs. Players commonly use them for pets such as wolves and cats, but they can also be useful for horses, villagers, farm animals, and other nameable mobs. Make sure the mob is nearby before using the item. You may want to keep it inside a fenced area or another safe location so it does not wander away.
Step 9: Use the Name Tag on the Mob
Hold the renamed Name Tag in your hand and interact with the mob. The mob should receive the custom name, and the name will appear above it when you look at the mob. The Name Tag is consumed after it is successfully used. If the name does not appear, make sure you are using the correct item and interacting with a mob that can receive a custom name.
Step 10: Keep Your Named Mob Safe
After naming your mob, take steps to keep it safe. A fence, enclosed room, stable, or other protected area can prevent it from wandering into dangerous locations. Naming mobs can be especially useful when you have several animals of the same type. Instead of seeing several similar wolves or horses, you can identify them by their custom names. You can also use different names for mobs based on their role. For example, one horse could be your travel horse while another could stay near your base.
Other Ways to Get a Name Tag
Finding a Name Tag in a chest is not the only option available in Minecraft. Depending on your edition and version, you may also obtain Name Tags through fishing or by trading with villagers.
Exploring remains one of the enjoyable ways to obtain one because you can collect other useful loot at the same time. When searching structures, bring enough food, tools, weapons, and storage space so you can continue exploring without returning home too quickly.
Why Name Tags Are Useful
Name Tags add a small but enjoyable feature to Minecraft. They allow players to give their favorite mobs unique identities and make their worlds feel more personal.
They can also help you organize a large animal collection. For example, you could name different horses based on their speed, appearance, or purpose. You can give pets special names and create memorable characters in your survival world.